Moving doesn’t have to be a giant pain: if you’re prepared for your move, it can go smoothly. You may have already seen my Top Ten Packing Tips for Moving from last month. Here are my TOP TEN UN-PACKING TIPS FOR MOVING, that I’ve learned from working with the professionals, and from moving fairly frequently, to help make your move as organized and stress-free as possible.
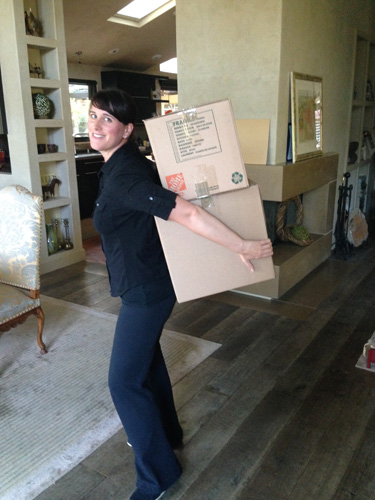
In your hands, right? Actually, no. If you watch the movers, they carry the boxes on their backs! They usually stack a few small or medium boxes, or carry one large one, by bracing them from behind and using their backs. It’s way easier to lift a heavy box from behind than in front of you. Carrying a box in front makes you use your back more, in the wrong way. Hopefully you’re following my 4th tip from the recent Packing post and packing more small and medium boxes that aren’t too heavy, but if not, this tip will help save you from back pain.
Start by unpacking your bed/bedding, towels and toiletries. It’s likely you aren’t going to be able to unpack everything in one day. At the end of the day you’re going to be tired and sore, so make sure the first thing you set up is your bed. Unpack your toiletries and bathroom so that you can shower and relax in the evening. A good night’s sleep will really help prepare you for a second (and even third) day of unpacking/organizing.
Place crush/paper down on floors – both hardwood or carpet – to protect them from potential damage. Also, do not stack boxes up against walls, especially newly painted ones. Leave a good gap of a few inches. It’s best to pile boxes in the middle of a room. Be especially careful when carrying boxes up stairs or around corners. Be aware of your surroundings so you don’t scuff up the walls/floors. Think small when carrying your box, and take your time getting it from point A to point B.
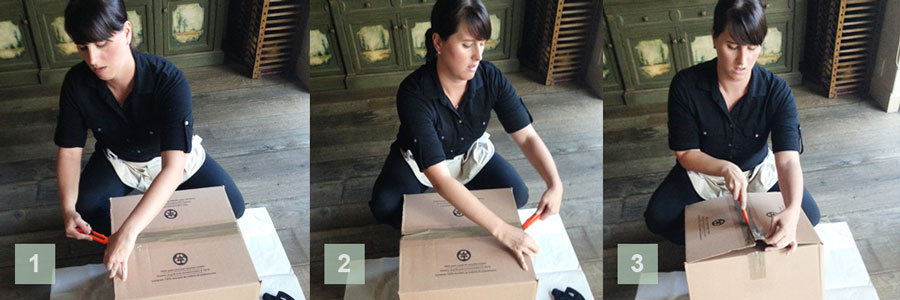
This was a surprise to me, but once I learned it, it made complete sense. Most people slice down the center of the box (where it’s taped together), then they cut the sides. The correct way to open a box is to start off by cutting the tape holding the sides of the box together (see step 1). Then, use your fingers to pull up the middle of the box so that you’re not cutting into anything placed on top (see step 2), then start cutting down the middle. Hopefully you’ve packed the box with paper (link from old post) on top, but just to be safe, or if you don’t know who packed the box, opening a box this way will ensure you aren’t going to damage anything at the top of the box. Save a few of the larger boxes for CRUSH (I’ll get to this in a few steps), but the rest you should break down and stack up by size somewhere out of the way. If you have a moving company, the movers will take the boxes. Otherwise you can bind and recycle them, store them, or give them to someone else who needs them (provided they are still in good shape).
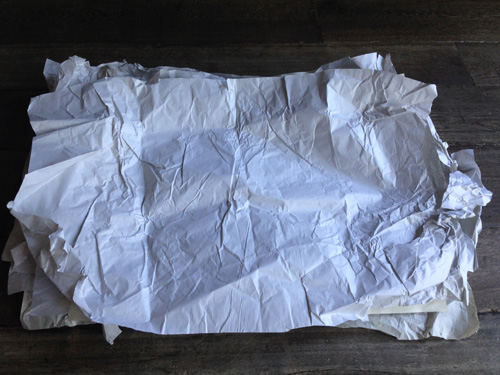
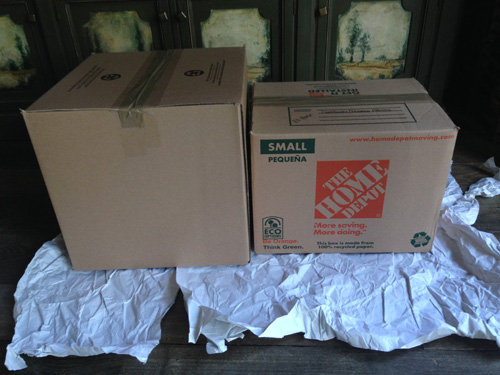
They key to making sure nothing gets thrown out accidentally, is to flatten each piece of paper in each box. There might be a lot of empty crush in the box, but just make sure by flattening each piece in a stack. Then as you start to unpack wrapped items, you can add the paper to the pile. This is nearly a foolproof way to make sure nothing small gets thrown out with the crumpled up paper (because there won’t be any, it will all be flat).
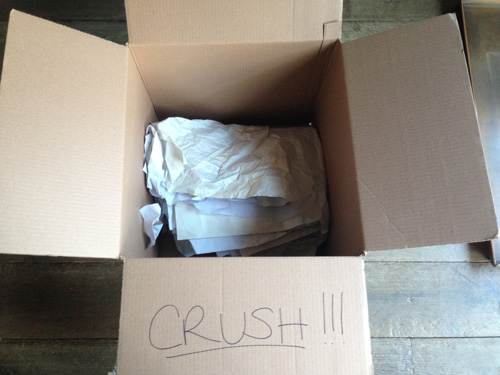
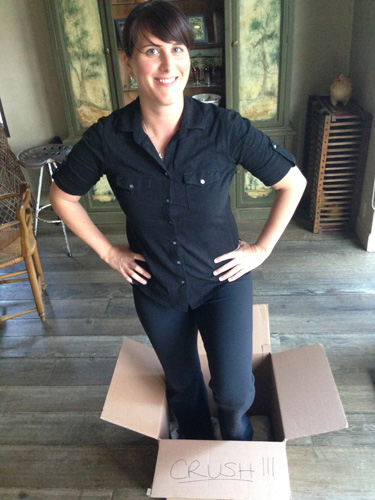
Once you have a decent-sized stack of paper, fold it in half (and even in half again) and place it in the bottom of an empty box. Mark your box CRUSH and fill it with as much paper as it will hold. Once you think the box is full, get inside and stomp it down (think grape stomp while doing it!). You’ve already made sure it’s all just paper, so nothing will get damaged. This will allow a lot of paper to get crushed into one box. If you end up giving your boxes to someone else, they will also have paper. Or, your movers will gladly take these off your hands and use them for future jobs.
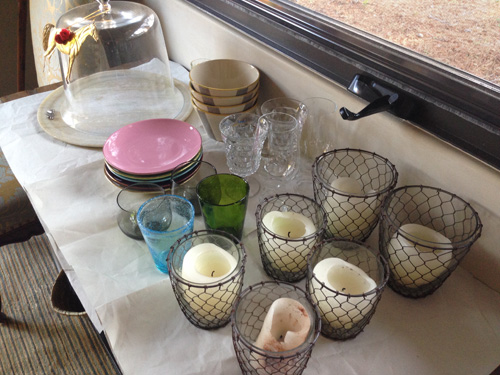
Similarly to the tip about protecting your floors, make sure you protect your counter tops and other surfaces. Use packing paper to cover your surfaces. You can even make the layers a few sheets thick. Then place items on those into their appropriate category on top of your counters/surfaces. If you don’t have a lot of surface spaces, unpack as many boxes as you can and place in categories on your surface, then when there is no more room, begin to put items away in their appropriate spots. You can edit, rearrange and finesse later.
Even those with the best of intentions can make mistakes and have a case of ‘butter fingers.’ That’s why it’s important to unwrap all items over a box or a flat surface. The theory here is that if you unpack over a box or surface, and your hands slip because of the paper, your item won’t have far to fall and hopefully will be protected enough not to break. Don’t rush when it comes to unpacking.
On my professional jobs, I will often clear off a counter space and put categories away, only to find out there is more of a category and I have to rearrange and finesse. Put as much as you can away first, then assess how much more space you need to fit the rest. If you don’t want to purge any more times, you may have to stack things (like drinking glasses). Get the boxes unpacked first, worry about the editing and finessing for another day (but don’t put this off for too long).
As you’re unpacking, start making a list of containers you may need in your new space. I always urge against buying containers before you know how a space will be used. You also want to make sure you measure spaces before you purchase containers. Clear rectangular storage bins are NOT always the answer (more on this in a future post). Unless you are ok with buying a lot of options and returning what you don’t use, I recommend holding off until you know how your stuff will fit in the new space to buy containers. I also recommend you purge as you unpack, especially if you realize there’s not enough space in your new place. This happens a lot for those who are downsizing. For those who have the opposite problem (upgrading into a new space), realize this does not mean you should buy more to fill the space; you’ll grow into it over time. Remember, space is your friend.
Phew! Hopefully these tips help to make your move as stress free and easy as humanly possible. If you have any questions, please don’t hesitate to leave them in the comments below. Happy moving!
Here’s a *FREE* printable with all these tips: Un_Packing Tips from the Pros